Font used here is Quill " Samples of Statstrips here
This tutorial was written using PSP8 as this is the program I use the most and had written a script for this statstrip with it.
I decided that a tut was needed since so many directions are needed to show the effect you can get. My script works well but you need to know the types of masks and textures to use and I can't show that in a script.
Outside filter used: FM Tiles - Blend Emboss
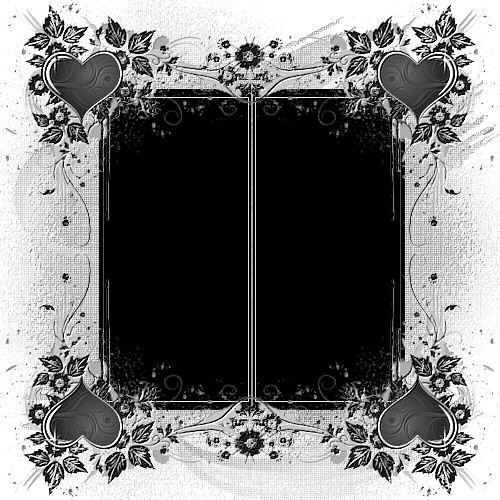
You need to use a mask with quite a bit of detail with the transparency
mostly in the middle
and solid borders
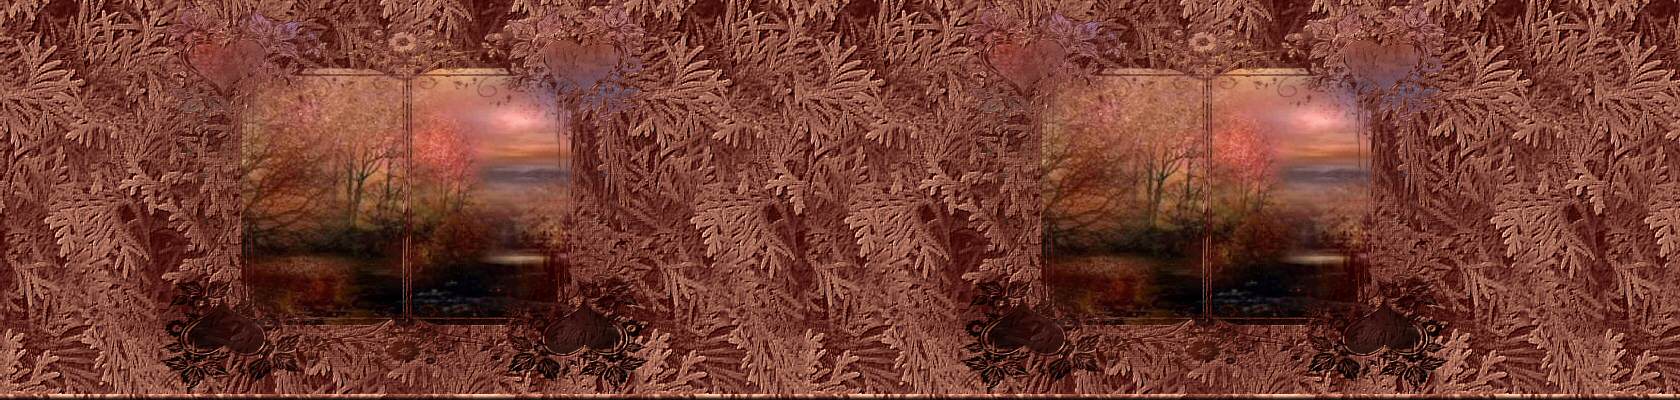
Example:
this beautiful SharlimarMask60
Choose an image and a mask that compliment each other.
I used this lovely image - it looks to be by Cebarre but I am not sure as it
was a shared, untitled graphic.

Duplicate your image and close the original.
Resize your image to fit your statstrip or topper.
Choose two slightly contrasting colors or shades of the same color from your image.
For this topper I used a deep color for the first fill and a lighter color for the textured fill.
I used this setting but sometimes an angle and a smaller size looks better.
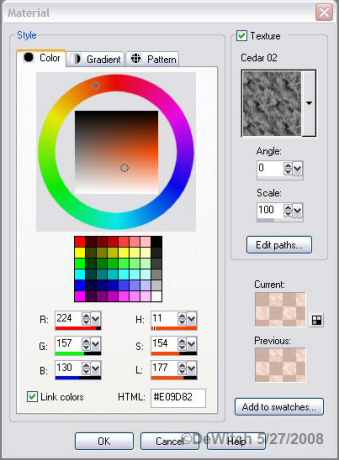
Add a raster layer and fill with the solid color you chose from your image.
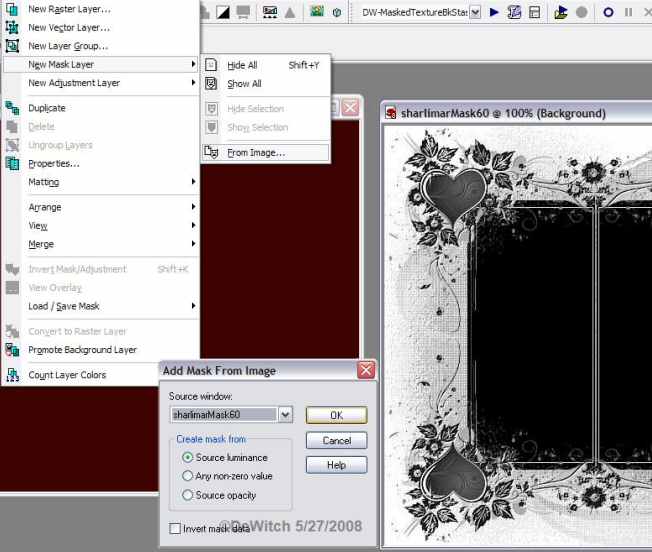
Load your mask from disk if it is in your masks folder.
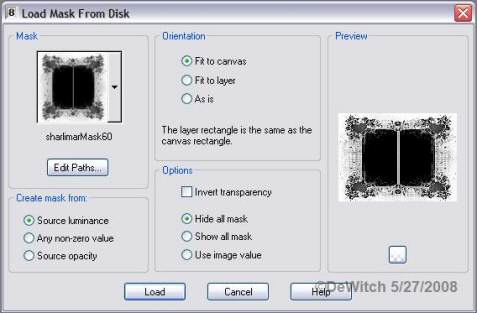
If your have it open on your workspace
load this way.
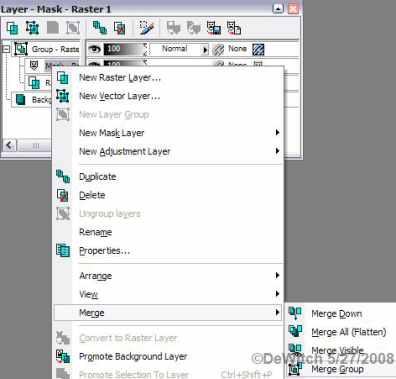
Right click your mask layer and "merge group".
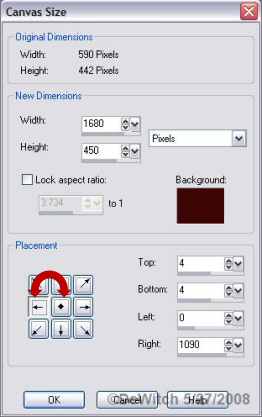
Then go up to "image" canvas size
Select your background color
and expand the canvas to the size you want your statstrip or topper to be
with the left middle arrow checked for a stat strip - or the middle diamond
for a topper.
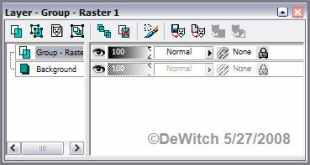
Select your top raster layer.
With the magic wand select the expanded areas and fill with your background color.
Deselect that area,
then select all - float - fill with textured color - defloat.
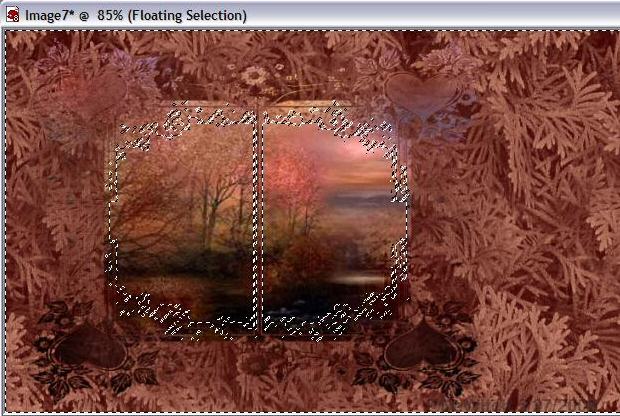
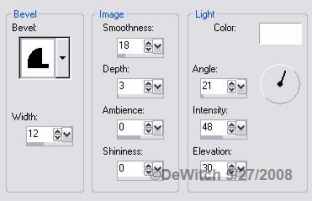
On the same layer, emboss with FM Tiles blend emboss at default setting.
You may also add a drop shadow if you think it will look well with your image.
I added a 6 pixel border to the bottom of the topper strip, reversed the colors and the texture and filled with both then applied this inner bevel.
Add your watermark.
Merge all -
image effects - seamless tile
for statstrip - edge - bidirectional
for topper - edge - horizontal
I used settings width 3 - transition 12 on both
Hope you enjoy this tutorial.
![]()
©DeZign by DeWitch 2008©
This tutorial was written by me. Any resemblance to another
tutorial is purely coincidental and unintentional.
Please do not copy this tutorial or add it to any web site
without my knowledge and written permission.